Rutabaga and Potato Fries

Have you ever tried rutabaga? Or better yet, have you seen or even heard of rutabaga before?
If not, give the root vegetable a chance with this recipe for homemade fries.
The rutabaga is a cross between cabbage and turnip plants. They were first popular in Scandinavia in the 17th and 18th centuries. Today, rutabagas are grown in northern states and Canada. They are seasonal in the fall and winter as they grow best in cool temperatures.
Rutabagas can be cooked several ways: boiled, steamed, baked, or mashed. This recipe calls for baking and eating as a homemade fry.
To be fair, a rutabaga fry will not taste exactly like a traditional french fry. After all, it is not a potato. But this recipe is a fun way to introduce a new vegetable in your house.
When I make these rutabaga fries, I like to mix in a sweet potato or even plain old Russet potato to provide contrasting texture and flavor.
Ready to give it a try? Let me know in the comments below if you liked it or not.
Step 1: Wash your hands with soap and warm water. Gather your ingredients:
1 rutabaga
1 large potato
1 1/2 Tablespoons olive oil
salt & pepper, to taste
Step 2: Preheat oven to 425°F. Line a 13 x 18-inch baking sheet with parchment paper. Check to make sure the oven rack is set in the middle.

Step 3: Wash the outside of the rutabaga and cut into homemade fry shapes:
Top left: Place the rutabaga on a cutting board and cut it in half through the stalk.
Bottom left: Set the flat side down flat on the cutting board and slice each half into semi-circles of 1/2-inch thickness.
Bottom right: Discard the end pieces and remove the outer skin from the semi-circle pieces.
Top right: Lay the semi-circles flat on the cutting board and slice into 1/4-inch sticks.

Step 4: Wash and scrub the outside of the potato and cut into homemade fry shapes:
Top left: Place the potato on its side and cut a thin slice off the edge.
Top right: Flip the potato so the cut side becomes a flat base on the cutting board. Cut into 1/2-inch slices.
Bottom: Cut again in the other direction to make 1/4-inch wide sticks.
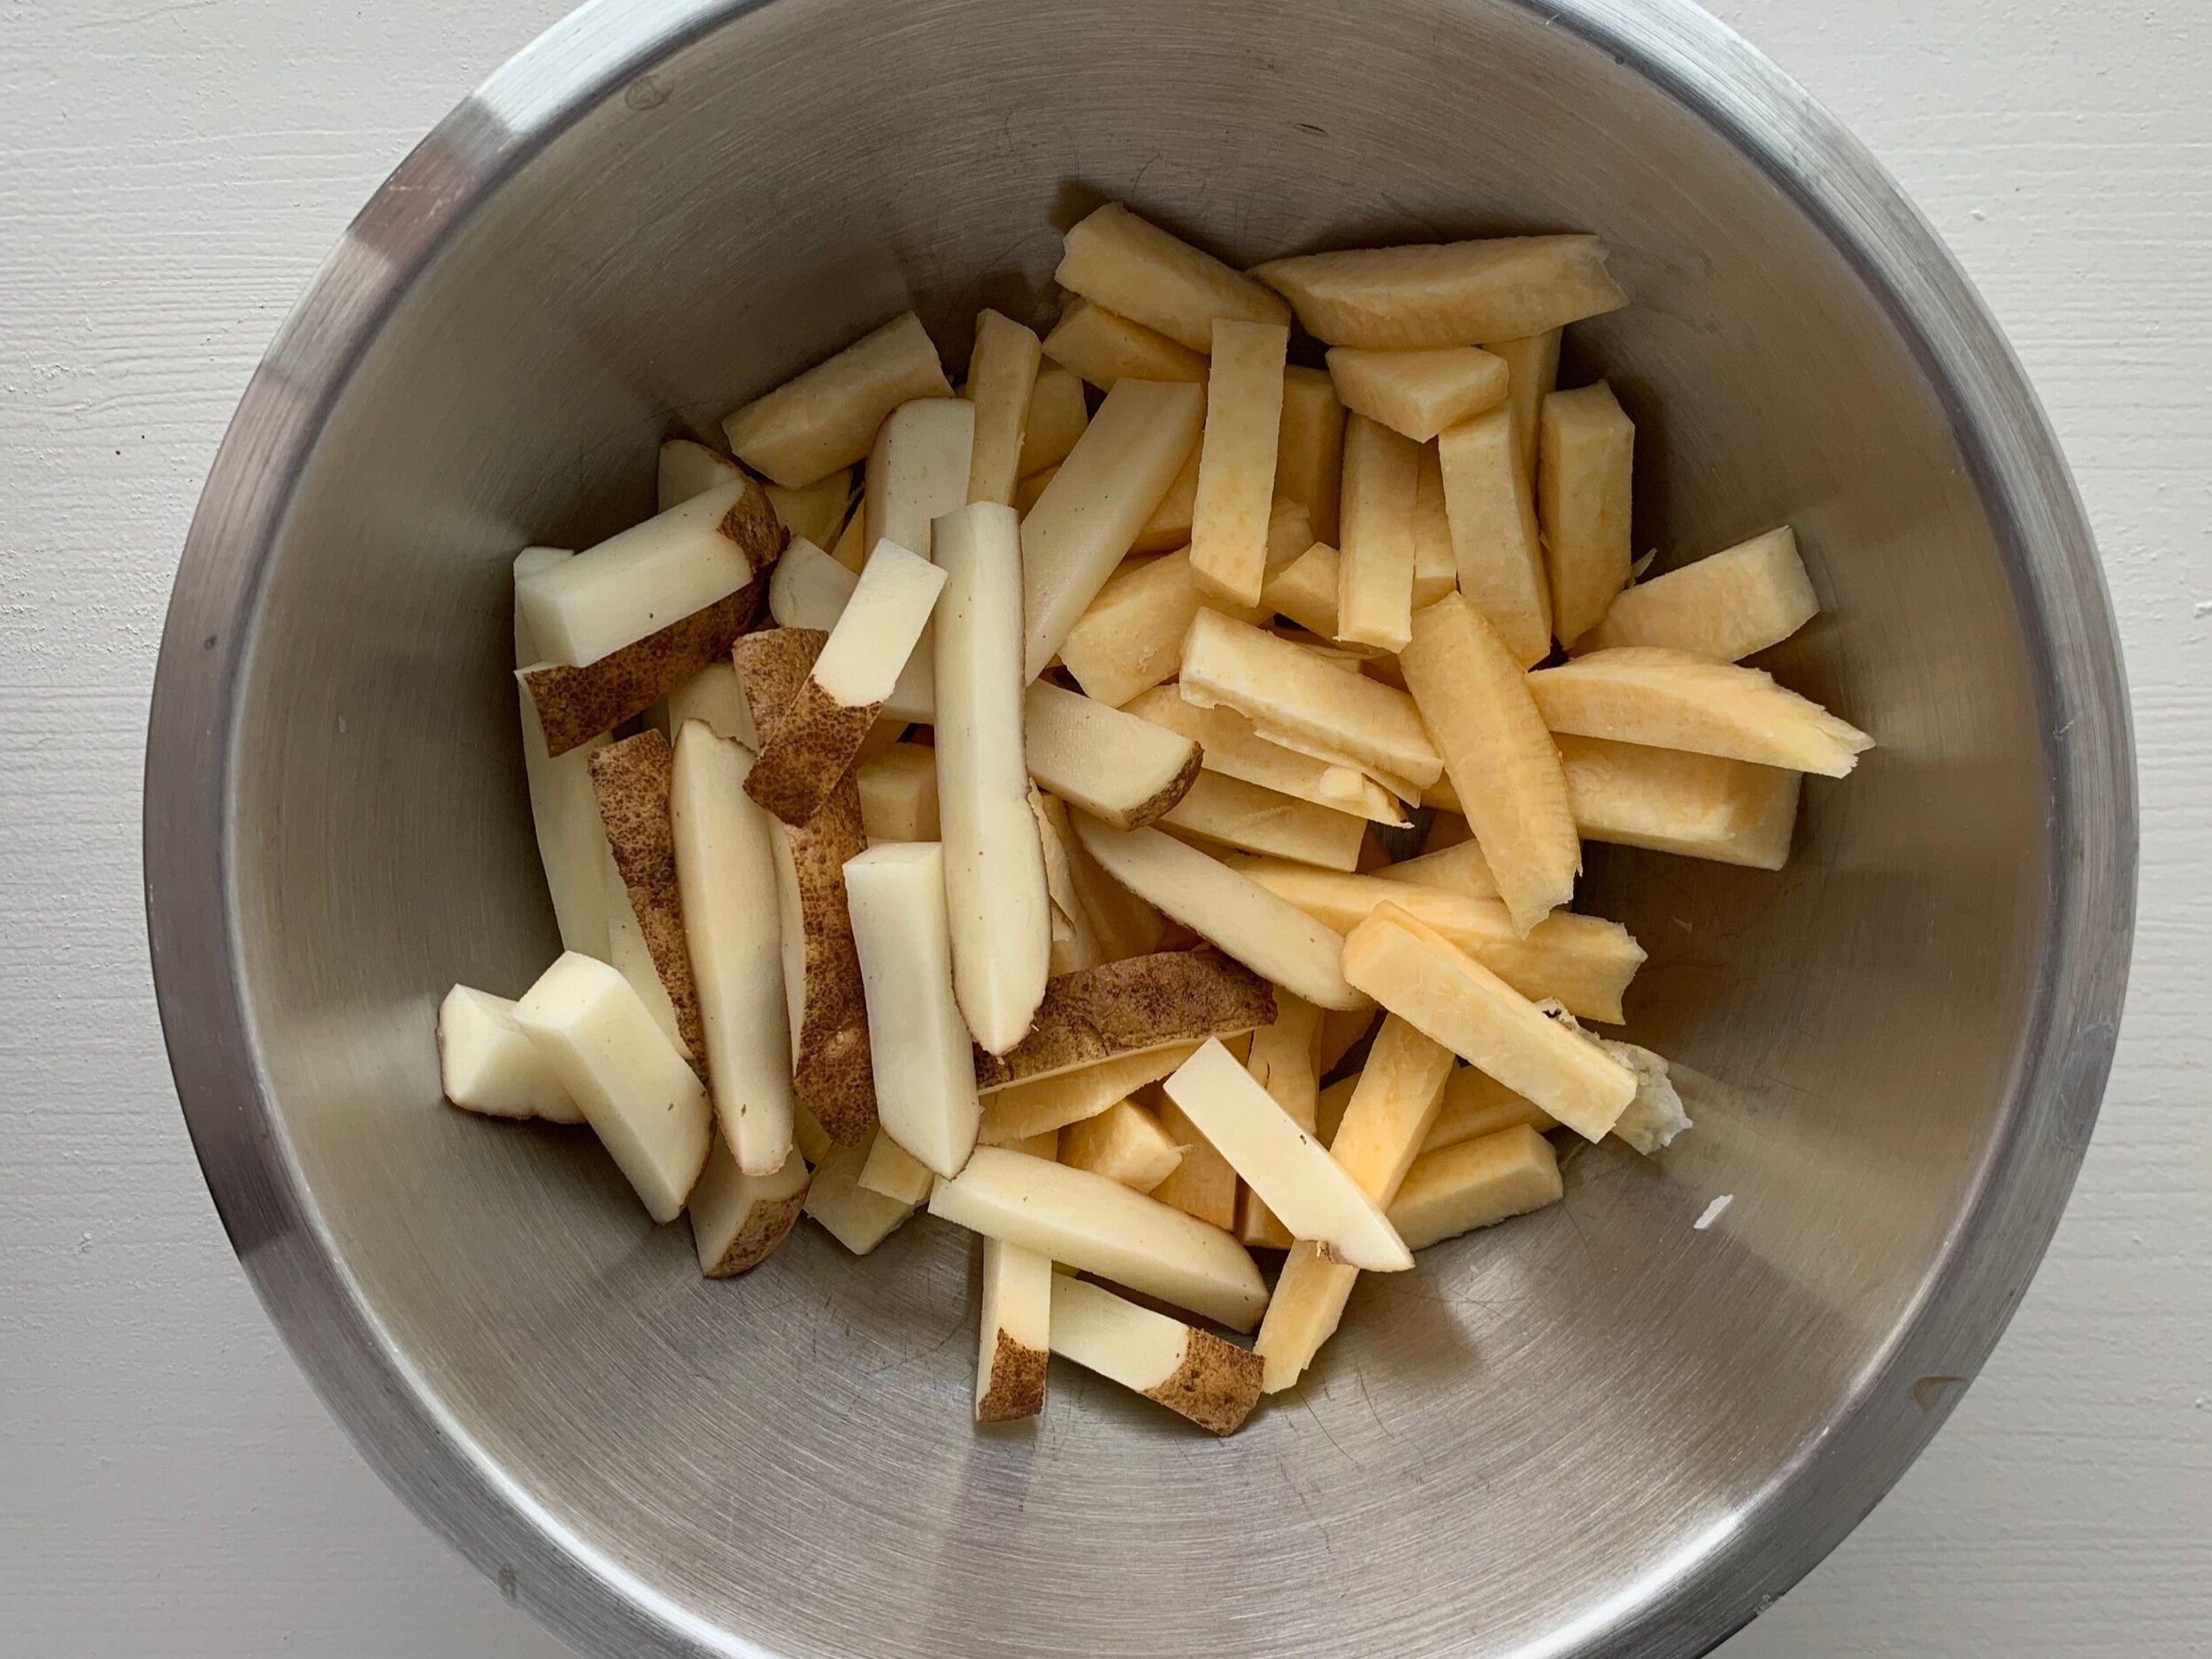
Step 5: In a large mixing bowl, toss the fries with olive oil, salt, and pepper to coat evenly.

Step 6: Spread the fries on prepared baking sheet in a single layer.
Step 7: Bake for 15 minutes at 425°F. Remove baking sheet from oven and flip fries over with a spatula. Return pan to oven and bake for 15-20 more minutes, until fries are cooked through and crispy on the outside.
