Freezer-Friendly Pumpkin Muffins
This post was originally published on February 22, 2021.
Freezer-Friendly Pumpkin Muffins are an egg-free way to enjoy pumpkin all year long. My family likes to add chocolate chips for extra flavor and texture. This recipe makes a double batch, which is great for large families or those who want to freeze extra for later!

My kids love these pumpkin muffins. My husband and I also love these muffins.
In fact, our family enjoys them so much that all two dozen muffins were gone in three days.
That’s okay, since these are pretty easy to mix up. I’ll just have to make another two dozen so we can add some to the freezer. Did I mention these make a great freezer muffin? So easy to just remove, thaw, and enjoy.
Last fall when my kids were learning about pumpkins, we actually made these muffins using homemade pumpkin puree. Yummy! The muffins we made over the weekend used canned pumpkin. But they still tasted yummy!
Usually we add about 1 cup of chocolate chips to the batter. The combination of melted chocolate and fresh-out-the-oven muffins just can’t be beat!
How to freeze these Pumpkin Muffins:
Allow muffins to completely cool and then place in a freezer bag or freezer-safe container. Carefully remove air from the freezer bag before sealing. Don’t forget to label bag with name and date cooked. Muffins can be frozen for up to three months.
Thaw at room temperature before eating.
What are allergy-friendly substitutions for Freezer-friendly Pumpkin Muffins?
As written, this recipe contains wheat and soy. If you use chocolate chips, it may also contain milk. As always, check every label, every time for individual ingredients.
To make wheat-free Freezer-friendly Pumpkin Muffins: use wheat-free/gluten-free all-purpose flour blend
To make soy-free Freezer-friendly Pumpkin Muffins: use cow’s milk (contains milk) or allergy-friendly alternative
How to make Freezer-friendly Pumpkin Muffins:
Ready to give it a try?
Step 1: Wash hands with soap and warm water. Preheat oven to 350°F. Place liners in muffin tins or use non-stick cooking spray. Gather remaining ingredients and supplies.

Step 2: Combine milk and vinegar. Stir and set aside.
Step 3: In a large mixing bowl, combine flours, sugar, baking soda, baking powder, salt, cinnamon, and ginger.
Step 4: Add canola oil and mix until evenly distributed into dry ingredients.

Step 5: Gradually mix in milk to batter. Gently beat in pumpkin until evenly combined.
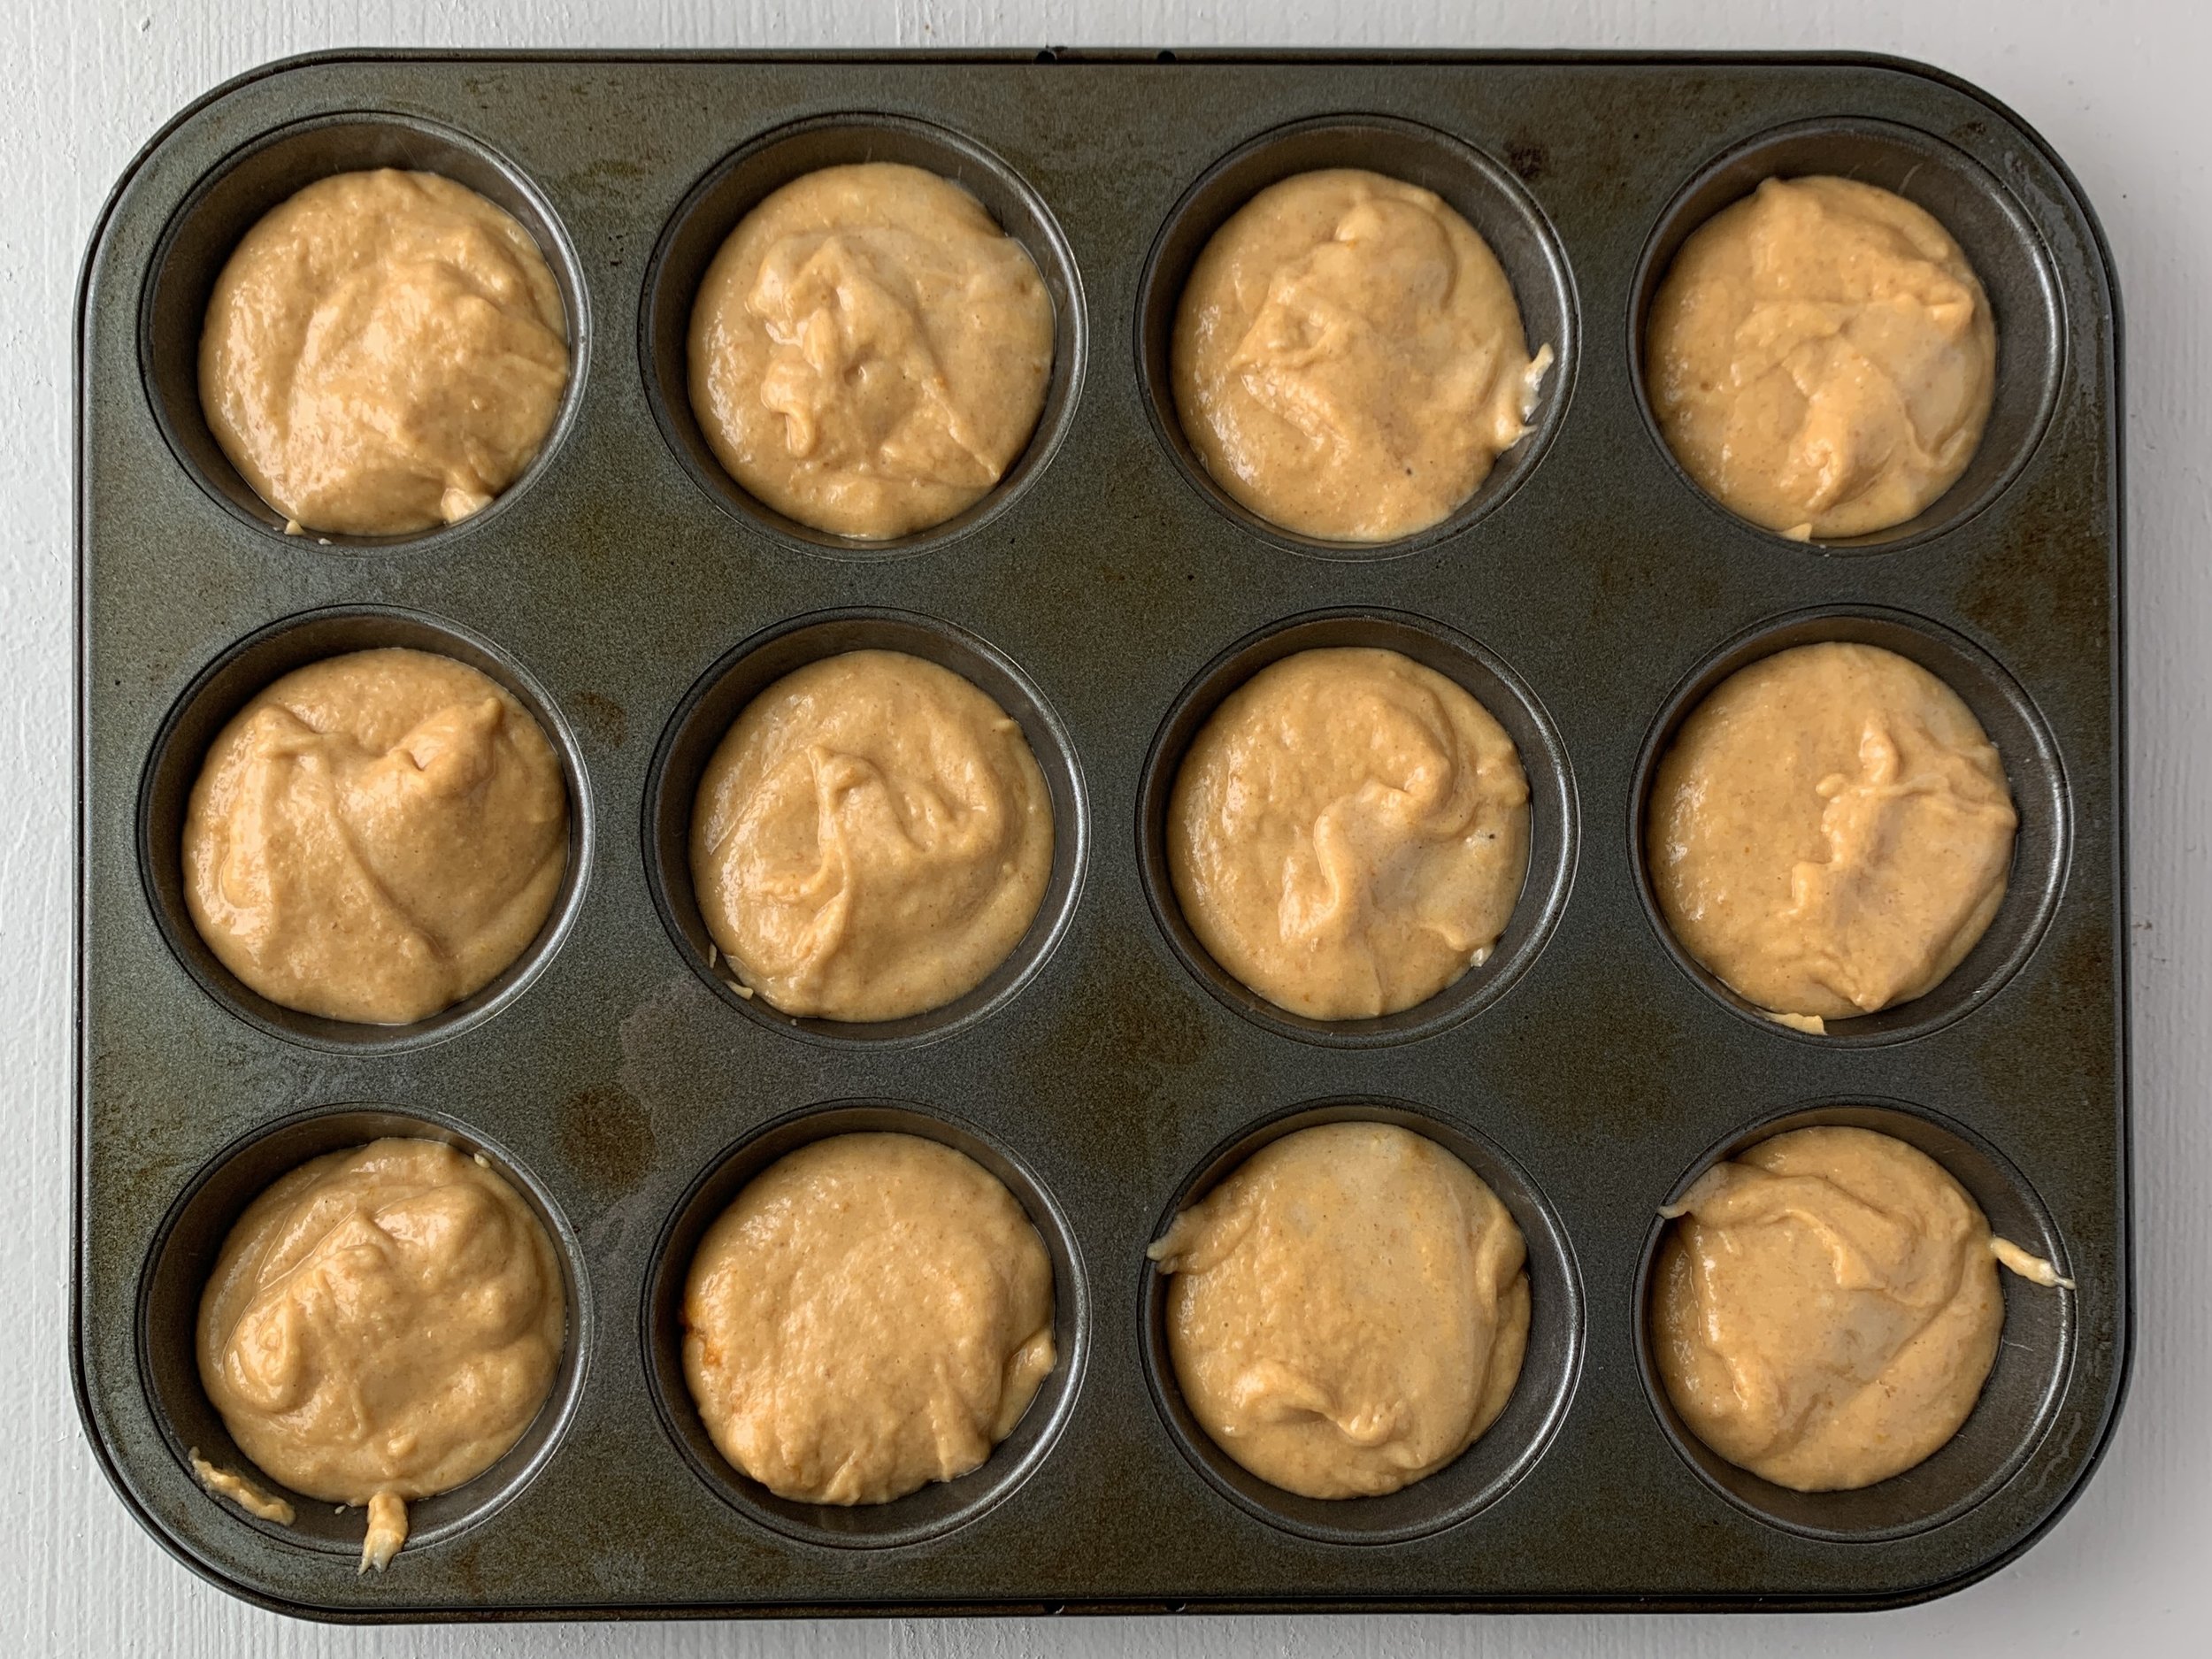
Step 6: Use a ¼ cup measure to spoon batter into prepared muffin tins.
Step 7: Bake at 350°F for 20-22 minutes (28-30 minutes for jumbo muffins) or until a wooden toothpick inserted near the center of a muffin comes out clean. Cool muffins in pans on wire racks for 10 minutes; remove from pans to finish cooling.
Freezer-friendly Pumpkin Muffins

Lisa Woodruff, RDN | October 25, 2022
- Prep time:15 minutes
- Cook time:20-22 minutes
- Total time:35-40 minutes
No nuts | No eggs | No milk | No fish | No sesame
Ingredients:
- 1 cup soy milk*
- 1 teaspoon apple cider vinegar
- 3 cups all-purpose flour
- ½ cup whole wheat flour
- 1¼ cups sugar
- 2 teaspoons baking soda
- 1 teaspoons baking powder
- ½ teaspoon salt
- 1 teaspoon ground cinnamon
- ¼ teaspoon ground ginger
- ¾ cup canola oil
- 15-ounces canned pumpkin
Instructions:
- Wash hands with soap and warm water. Preheat oven to 350°F. Place liners in muffin tins or use non-stick cooking spray. Gather remaining ingredients and supplies.
- Combine milk and vinegar. Stir and set aside.
- In a large mixing bowl, combine flours, sugar, baking soda, baking powder, salt, cinnamon, and ginger.
- Add canola oil and mix until evenly distributed into dry ingredients.
- Gradually mix in milk to batter. Gently beat in pumpkin until evenly combined.
- Use a ¼ cup measurer to spoon batter into prepared muffin tins.
- Bake at 350°F for 20-22 minutes (28-30 minutes for jumbo muffins) or until a wooden toothpick inserted near the center of a muffin comes out clean. Cool muffins in pans on wire racks for 10 minutes; remove from pans to finish cooling.
Allergy-friendly Substitutions:
- No wheat: use wheat-free/gluten-free all-purpose flour blend
- No soy: use cow’s milk (contains milk) or allergy-friendly alternative